This quick and easy no-oil crust subs in quite nicely when a graham crust is desired for a dessert. Made from simple ingredients with no refined sugars or syrups, just a few dates. There are two versions, a regular one like a graham crust would be and one with a little cocoa for chocolate cream pies. It isn’t much, but it does add a nice touch.
We had leftover cream pie in our fridge for three days which still did not result in a soggy crust.
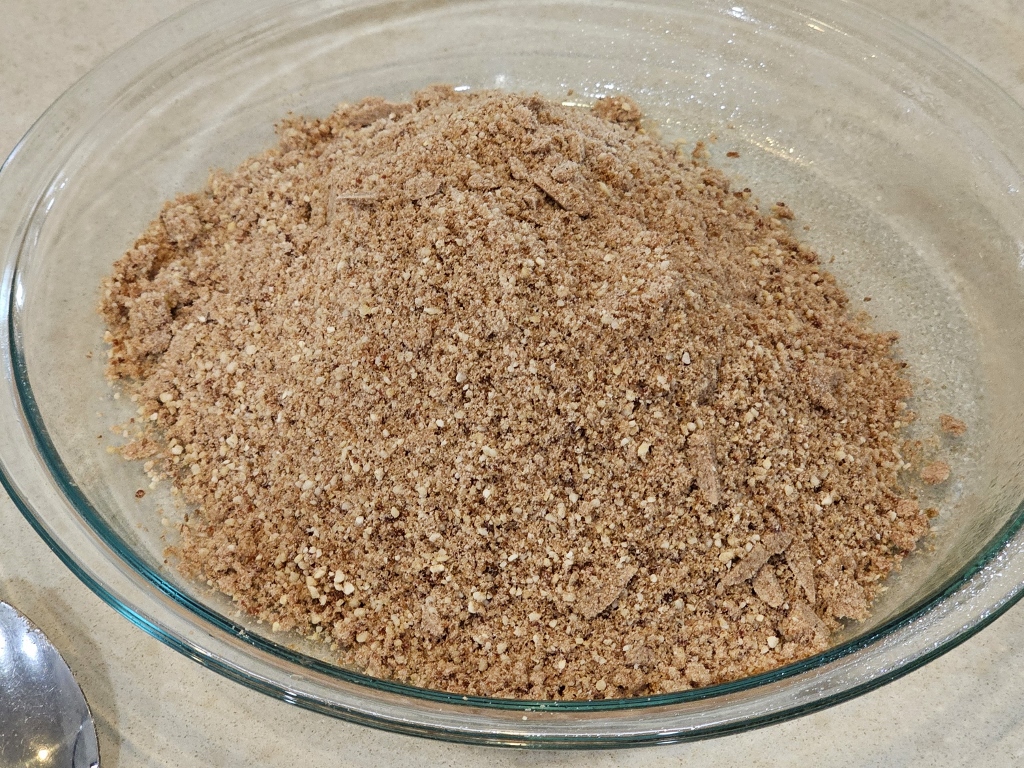
This is the cocoa version.

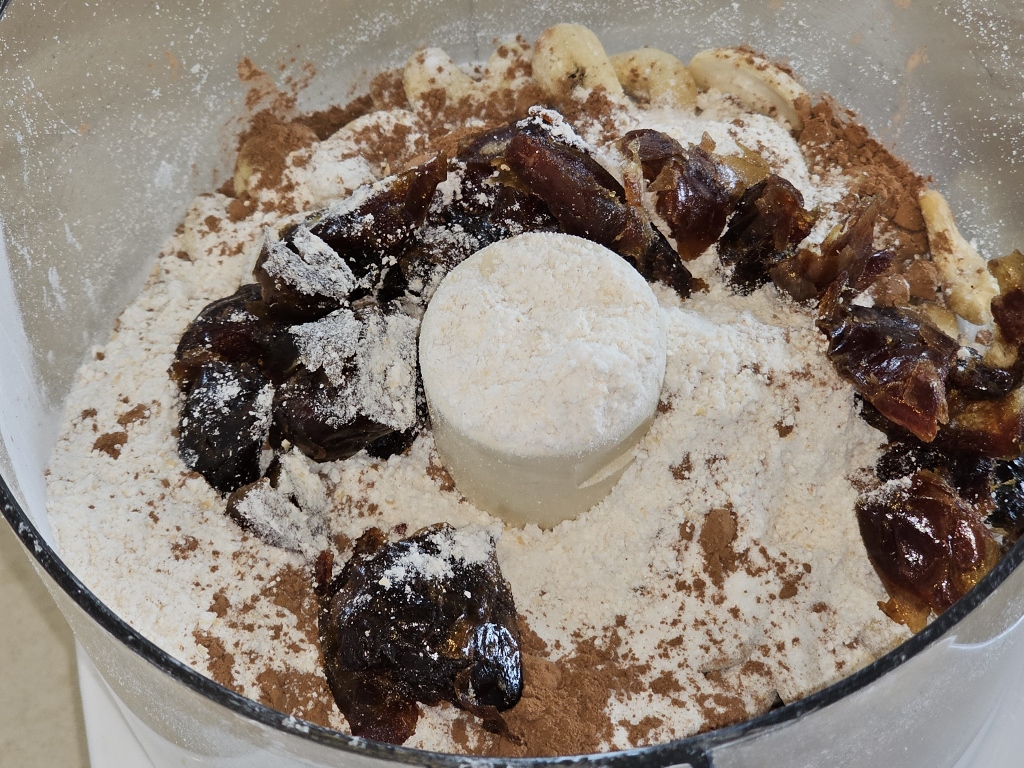
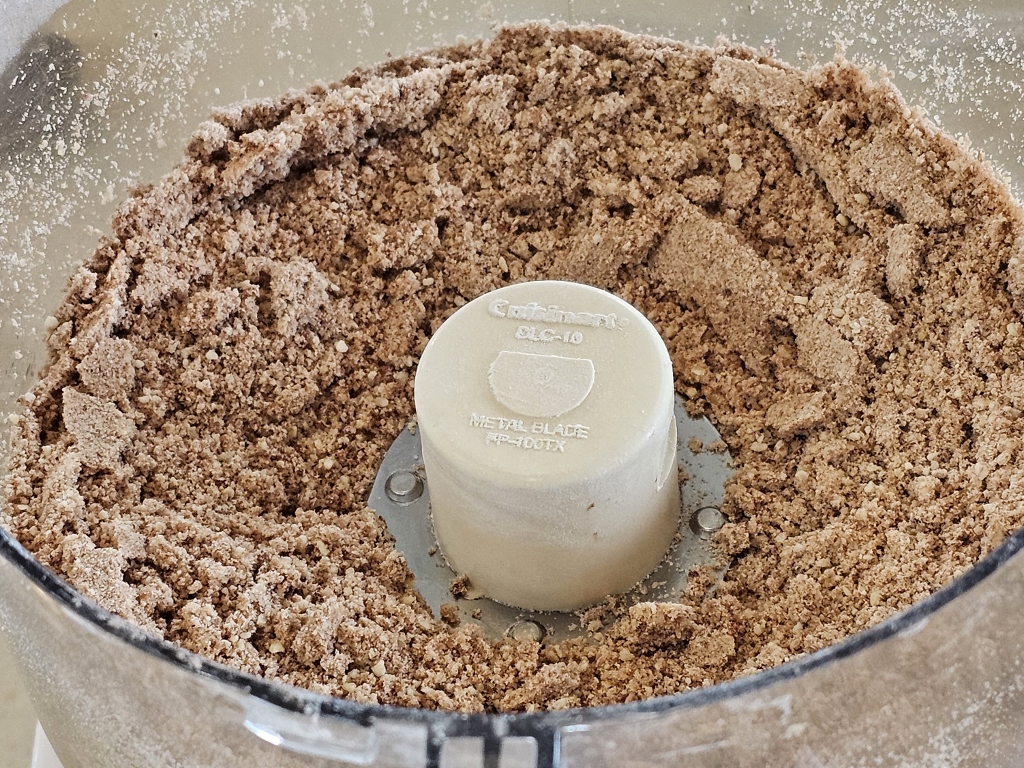
It is easily made by combining all the ingredients in a food processor and processing until you get the right texture to hold it together as described in the recipe’s directions.
(The next three pictures are of the cocoa crust.)
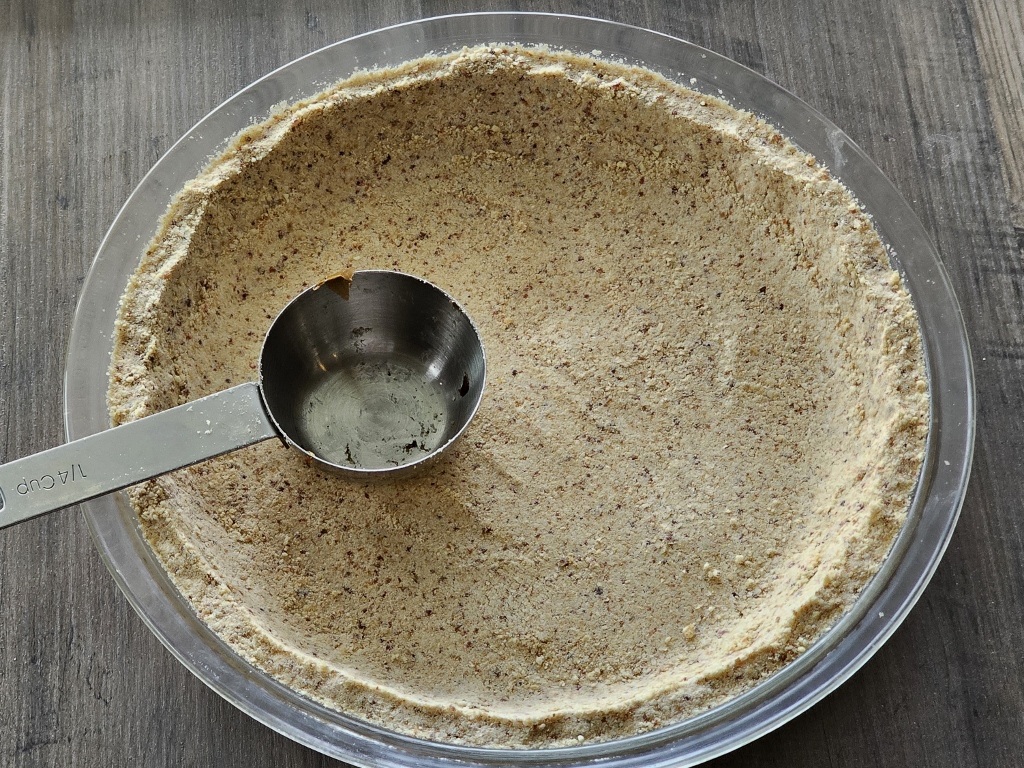
Then it is dumped onto a 9-inch pie plate and pressed to form the crust and hold it together. I just use the bottom of one of the measuring cups used for measuring the dates.
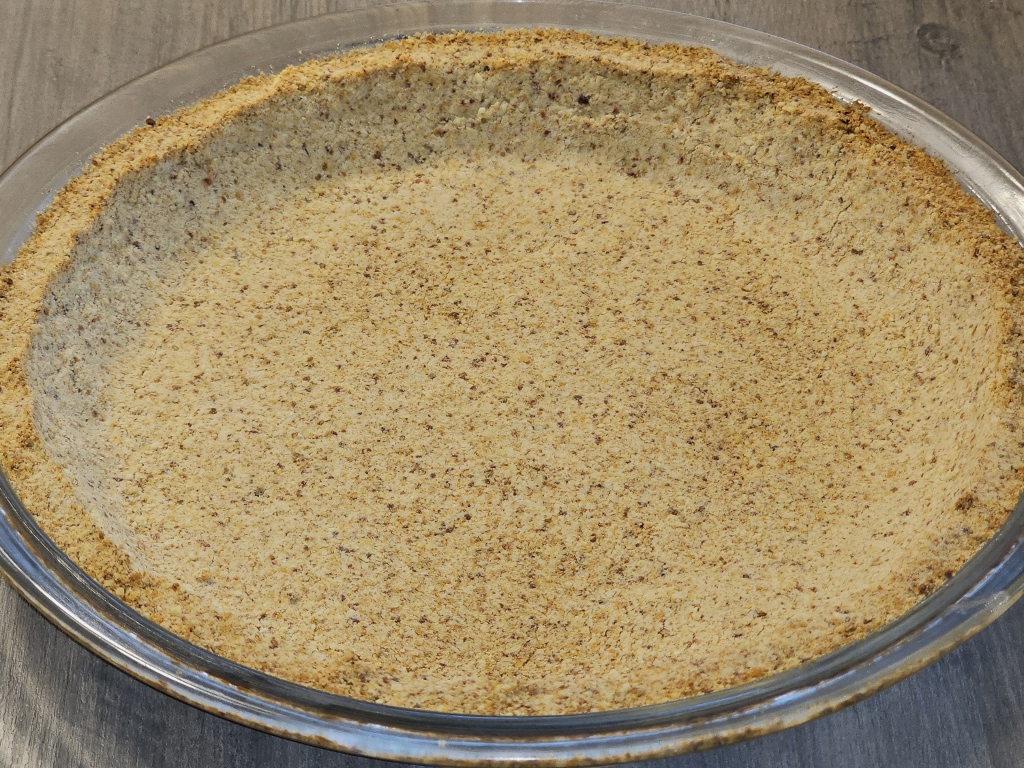
This is the regular crust.
3/4 cup cashew pieces
3/4 cup whole-wheat pastry flour — stir flour, spoon into measure, and level off top. (oat flour would also work, but the flavor isn’t as good. It would help to replace two teaspoons with coconut flour)
1/3 cup Medjool dates cut into 1/2″ pieces — pressed to measure.
1 tsp vanilla — preferably powder such as Cook’s brand, but liquid will work.
1/4 tsp salt
1/4 tsp butter flavoring, it is good, but definitely optional
2 tsp cocoa powder if making a chocolate pie.
Alway make sure measures are full, it can make a real difference for a recipe.